Tuesday, January 24, 2012

Sending Transactional Messages from a Ruby Application

Do you need to send transactional emails from a Ruby application? Do you need open tracking, DKIM signing and easy to read reports? If so, then JangoSMTP is your solution.

This example demonstrates how to send messages using JangoSMTP from within a Ruby application. You will need the Mail gem, which can be installed with the command gem install mail.

After the mail gem is installed, download the source code for this example and insert your own JangoSMTP username/password/etc. It's as easy as that!
require 'mail'

Mail.defaults do
  delivery_method :smtp, { :address   => "relay.jangosmtp.net",
                           :port      => 25,
                           :domain    => "YourDomain.com",
                           :user_name => "Your Username",
                           :password  => "Your Password",
                           :authentication => 'plain',
                           :enable_starttls_auto => true }
end

# Set up your email
# The from address must be stored in your list of from addresses
# see Settings > Advanced > From Addresses
mail = Mail.deliver do
  to 'To@EmailAddress.com'
  from 'From Name <FromAddress@YourDomain.com>'
  subject 'This is the subject!'
  text_part do
    body 'This plain text email was sent by Ruby!'
  end
  html_part do
    content_type 'text/html; charset=UTF-8'
    body '<b>This HTML email was sent by Ruby!</b>'
  end
end

Monday, January 23, 2012

Integrating JangoSMTP with Java

Since Oracle provides the JavaMail package for sending emails in Java, it's easy to integrate JangoSMTP into your current Java software.

First, you need to obtain the JavaMail library. If you're using the enterprise edition of Java, then you probably already have JavaMail installed. Otherwise, you will need to unzip the contents and add them to your buildpath in Eclipse, or your classpath in Windows. To add the package to your buildpath, click Project > Properties > Libraries > Add External JARs.

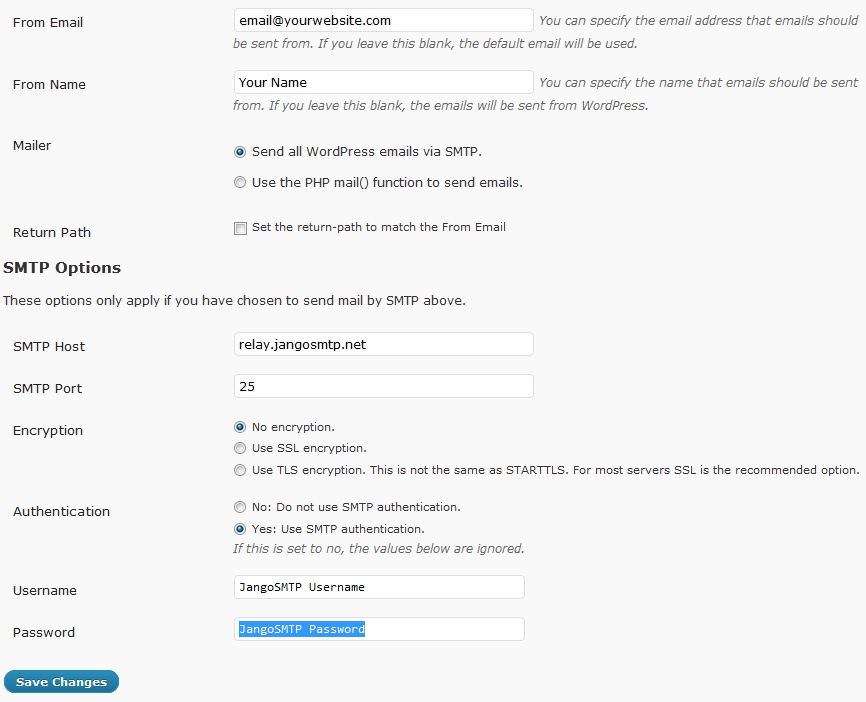
Then you can use JavaMail to connect to the JangoSMTP server and send a message. You should connect to relay.jangosmtp.net using your JangoSMTP credentials. We've already built a simple example that will connect to JangoSMTP to send a message.

Properties props = new Properties();
props.put("mail.transport.protocol", "smtp");
props.put("mail.smtp.host", "relay.jangosmtp.net");
props.put("mail.smtp.port", 25);
props.put("mail.smtp.auth", "true");
 
// set up a new authenticator
Authenticator Authorization = new SMTPAuthenticator();
Session JangoSMTPSession = 
             Session.getDefaultInstance(props, Authorization);
Transport transport = JangoSMTPSession.getTransport();
 
// this object will hold the details of the email
MimeMessage EmailMessage = new MimeMessage(JangoSMTPSession);
 
// store the plain text and HTML portions of our email
Multipart MultipartContent = new MimeMultipart("alternative");
 
// first set the plain text message
BodyPart part1 = new MimeBodyPart();
part1.setText(PlainTextMessage);
MultipartContent.addBodyPart(part1);
 
// then set the HTML message
BodyPart part2 = new MimeBodyPart();
part2.setContent(HTMLMessage, "text/html");
MultipartContent.addBodyPart(part2); 
 
EmailMessage.setContent(MultipartContent);
        
// Set the From Address.
// Must be a sender that is saved in your from-addresses.
EmailMessage.setFrom(new InternetAddress(FromAddress));
        
// Set the subject
EmailMessage.setSubject(Subject);
        
// set the to-address
EmailMessage.addRecipient(Message.RecipientType.TO,
                                new InternetAddress(ToAddress));
 
// Connect, Send the Message, and Close the Connection
transport.connect();
transport.sendMessage(EmailMessage, 
          EmailMessage.getRecipients(Message.RecipientType.TO));
transport.close();

With the authentication code that is in the example file, this code will allow you to construct and send a transactional email using JangoSMTP. This email will contain all the tracking and other features set up in the settings section of the JangoSMTP site.

Feature Enhancement: Secure and More Professional Click Tracking

JangoSMTP has two new click tracking options for transactional emails. The new settings, base-64 encoding and MD-5 hashing, make the links operate more securely and look more professional.

When click tracking is turned on for a transactional email, the URLs are converted into trackable URLs that typically look like this:

http://x.browniekitchen.com/y.z?l=http%3A%2F%2Fwww.browniekitchen.com&e=1&j=269829603
This URL is less secure because it shows the destination URL, which could be changed by a malicious phisher.  JangoSMTP has added these two new settings to increase the URL's security. Base-64 encoding encodes the URL so that it doesn't reveal the destination URL. The MD-5 hash feature causes the redirect to the URL to fail if the hash does not match the URL.

Here is an example of a click-tracked URL that is both base-64 encoded and includes the MD-5 hash.  Notice the addition of the h= parameter and that the l= parameter is now a base-64 string:

http://x.browniekitchen.com/z.z?l=aHR0cDovL3d3dy5icm93bmlla2l0Y2hlbi5jb20%3D&e=1&j=269829534&h=6f5c4e957783bf712c74f80f1fb083fa

A URL with click tracking that is NOT base-64 encoded but includes the MD-5 hash looks like this:

http://x.browniekitchen.com/z.z?l=http%3A%2F%2Fwww.browniekitchen.com&e=1&j=269829571&h=6f5c4e957783bf712c74f80f1fb083fa

URLs with base-64 encoding look more professional and recipients are more confident when clicking them.  URLs without this encoding clearly show one URL that has another URL as a parameter, which can make a recipient more hesitant to click. The MD-5 hash prevents tampering with the destination URL.  If someone were to change the l= parameter in a URL that contains the hash, then the user would NOT be redirected to the destination URL.

To set click-track settings, go to Settings --> Tracking --> Click Tracking


Please note that in the URL examples above, we used a branded tracking-domain, x.browniekitchen.com.  We recommend that all users setup a branded tracking-domain based on their organization's domain.  To read why, see this blog post: The importance of setting up a custom tracking domain.

All new JangoSMTP accounts will have both of these settings on by default.  If you are a current client, we recommend that you turn on both of these settings now.  Please note that JangoSMTP will enable these two settings for all existing accounts automatically over the next few weeks.

Monday, January 16, 2012

How To Use JangoSMTP With Wordpress

Wordpress is one of the most popular blogging platforms on the web. If you're serious about blogging, it's important that your Wordpress-generated emails are tracked and delivered, and JangoSMTP can help with that. Setting up Wordpress to send via JangoSMTP is a snap!

Start by downloading and installing the WP Mail SMTP plugin. To install it, just unzip it and upload it to your plugins folder, which can be found within the wp-content folder.

Then log in to your Wordpress blog, go to the plugins page and enable the WP-Mail-SMTP plugin. Go to the settings page for this plugin and enter this information:

Mailer: Send all Wordpress emails via SMTP.
SMTP Host: relay.jangosmtp.net
SMTP Port: 25 (or whatever you normally use)
Encryption: No encryption (or whatever you normally use)
Authentication: Yes: Use SMTP authentication.
Username: Your JangoSMTP Username
Password: Your JangoSMTP Password

Your settings page should look something like this:


Then all of your Wordpress emails will be sent through JangoSMTP. You can enable tracking and other features through the JangoSMTP settings.

Friday, January 6, 2012

JangoMail is Hiring a Sales/Support Rep

Are you a highly motivated email marketing expert looking to work from home and delight your customers? We are hiring! We need a rockstar Sales/Support Rep. Please read our job posting for instructions on how to apply.